Butterfly wishes

This was such a quick and easy card to do for my niece’s birthday.

I have just received the butterfly punch and was quite eager to play with it. It certainly helps when you also purchase a matching stamp set such as Butterfly Prints.

I previously had some other company’s embossing folder and used that to layer the butterfly’s on. Add to that a base card in Elegant Eggplant and all is done.

Alright I hear you say, I also added a layer on the inside so I could stamp some flowers and write all the best wishes etc…

Just what a gorgeous little 11-year-old likes.

MultiColoured Dragonfly’s

 This was for a niece’s birthday. I was playing with some Glossy white card stock and embossing.

I have a couple of different techniques on this card. Firstly I stamped and embossed the dragonfly (from Bugs and Kisses). Then I used the versamark and stamped some other insects on the background ( you will have to look very closely in the photo to see them). Then it was time to use the brayer over the top in Pink pirouette. The background insect creates a type of watermark in the background.

I like using Markers to colour, so I have used several to add a multicoloured effect within the wings of the dragonfly.

As you can see I liked the result so much I made one in male oriented colours, with a different Happy Birthday stamp layered on Designer Label and Curly Label punches.

Sponging with an alternate colour gives the impression of another layer. Comes in handy at times.

If you like it let me know.

Farewell Christmas

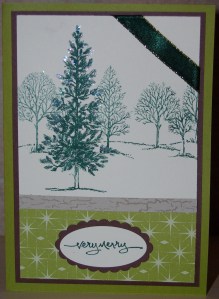
Now I promise this will be the last post for Christmas 2009.

But I just had to post my two favourite cards. I embossed So Swirly on to a large piece of cardstock, turned it over and randomly stamped one of the bauble images the back. Then I cut it out and turned it over to match in with the other stamped image.

My all time favourite for this year is this card. It was inspired by a card I received as a swap at the Melbourne Regionals, by a demonstrator named Bridget Harrison.

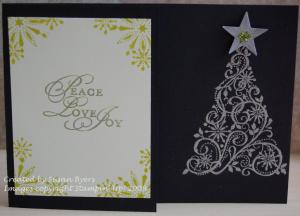
Embossed Tree Swirled

BlackEmbossedThreequartersCardWell we are certainly on the countdown to Christmas.

This is my first Christmas card for this year.

From the moment I saw Snow Swirled in the Catalogue, I just knew I had to have it. I am a big fan of flourishes. And considering I only saw snow for the first time ever last month, I just couldn’t resist.

I embossed the Xmas tree in silver, punched out a star and added some glitter. I don’t know whether the shape of the card has a special name, but the front is only half the size of the rest of the card.

GreyEmbossedPeaceTree


I recreated the same layout using a normal card front. I must admit that the embossed silver stands out more against the black background. I also used the spritzer on the front as well.

Bridal Black and White

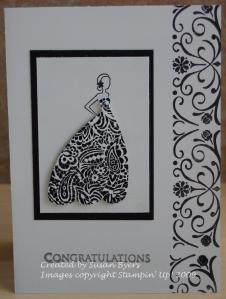
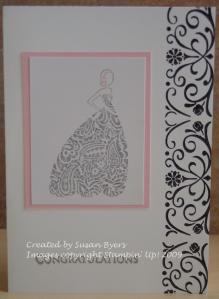
We are going to a wedding on the weekend, so I had ordered the stamp set “For the Bride” specifically.

I was going along fine, I had decided to use just black and white. Some of you might be thinking “black and white is so boring”, but if it is done correctly can look very sleek indeed.

BlackWhite.embossed.BrideBlackWhite.embossed.Bride1


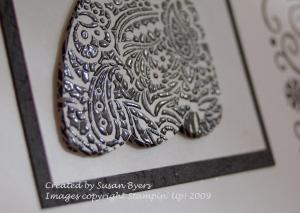
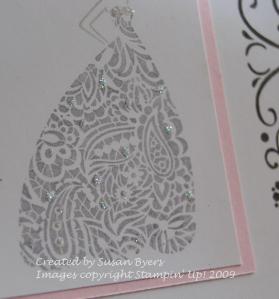
I also used Bella’s Border wheel along the edge. I then stamped a second image and embossed it in black, and proceeded to cut out the wedding dress and layer this with dimensionals over the original dress.

Unfortunately, my husband didn’t like my original card. He thought it needed some colour or something. So it was back to the drawing board.

Dazzling.Piroette.Bella.BrideDazzling.Piroette.Bella.Bride1


I did the same layout, but added some softer colours (Going grey, Shara sand and Pink piroette).

I even randomly added Dazzling diamonds as well.

Confirmation

EmbossedConfirmation

It was my son’s confirmation over the weekend.  I should have been more prepared and ordered Special Blessing, but that didn’t happen. So,I ended up using my daughter’s non SU alphabet stamp set. I’m sure it would have been a whole lot easier to use if I had a Stamp-a-ma-jig.

I embossed the flourish from Baroque Motifs onto Riding Hood Red cardstock, stamped half an image with red ink along the top, and then layered it with Basic black cardstock. My daughter gave this to her brother.

CelebrateConfirmation

Next I needed a card from my hubby and I. Again my talented SIL sent Nathan a card for his confirmation. I didn’t case it, but I certainly used it for inspiration and it was a challenge to see what I could come up with.

Riding Hood Red was the perfect colour for the occasion. I teamed it up with Close to cocoa and used multiple stamp sets including Weathered, Lovely as a tree, Starring you and All scallops.

I sponged the edges of the cross to make it appear more natural, and distressed the edges of the card-stock to enhance the whole natural effect. As well as using markers to give depth to the tree image. To top it all off, dimensionals were added to adhere the cross.